In Phase 2, Old Mauch Chunk was brought into plane on a vacuum heat table, and then lined onto a stable fabric. The lined painting was next tacked onto the original stretcher, which had been cleaned and made ready for Phase 3.
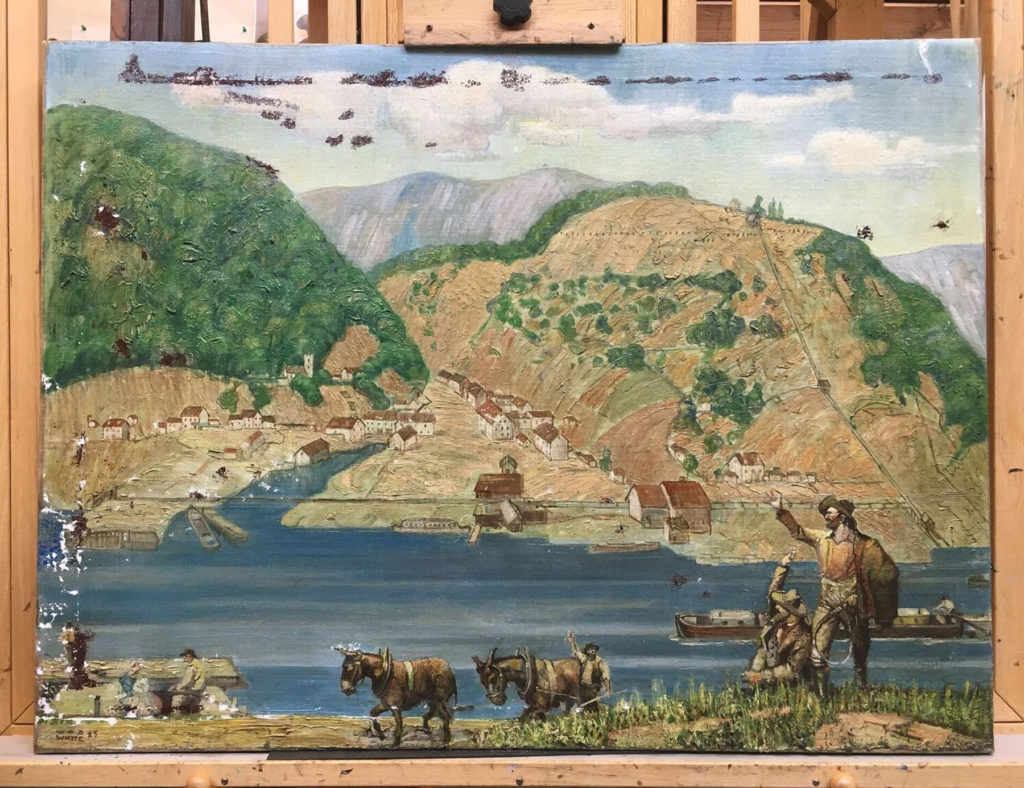 Step 1
First, the painting was brush varnished with a reversible, isolating, and saturating acrylic varnish. Next, areas of paint loss were filled with a reversible gesso putty.
Step 2
Inpainting is a restoration process to re-establish color or detail to losses in the original paint layer. In this process, pigment in a binding medium is applied by brush. With Old Mauch Chunk, inpainting was also required to cover old spackle fills (brown areas) from the previous restoration attempt which were too insoluble to remove safely.
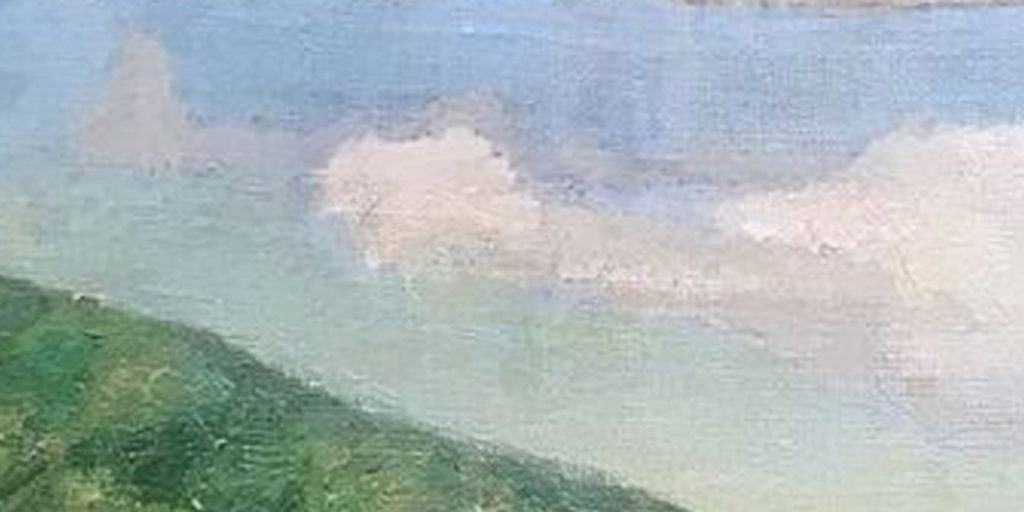
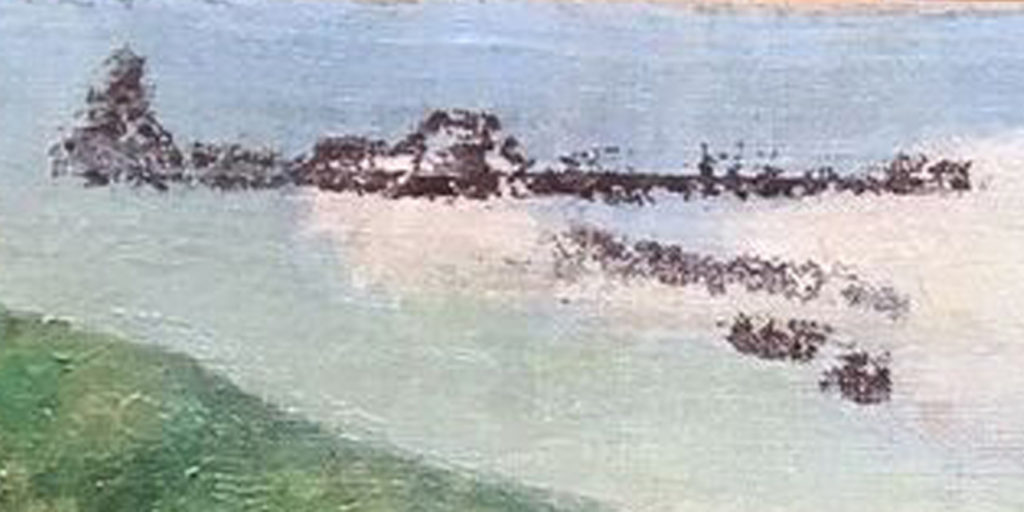 These photos show a detail of the sky before and after inpainting. The brown area shows spackle that was applied c1991.
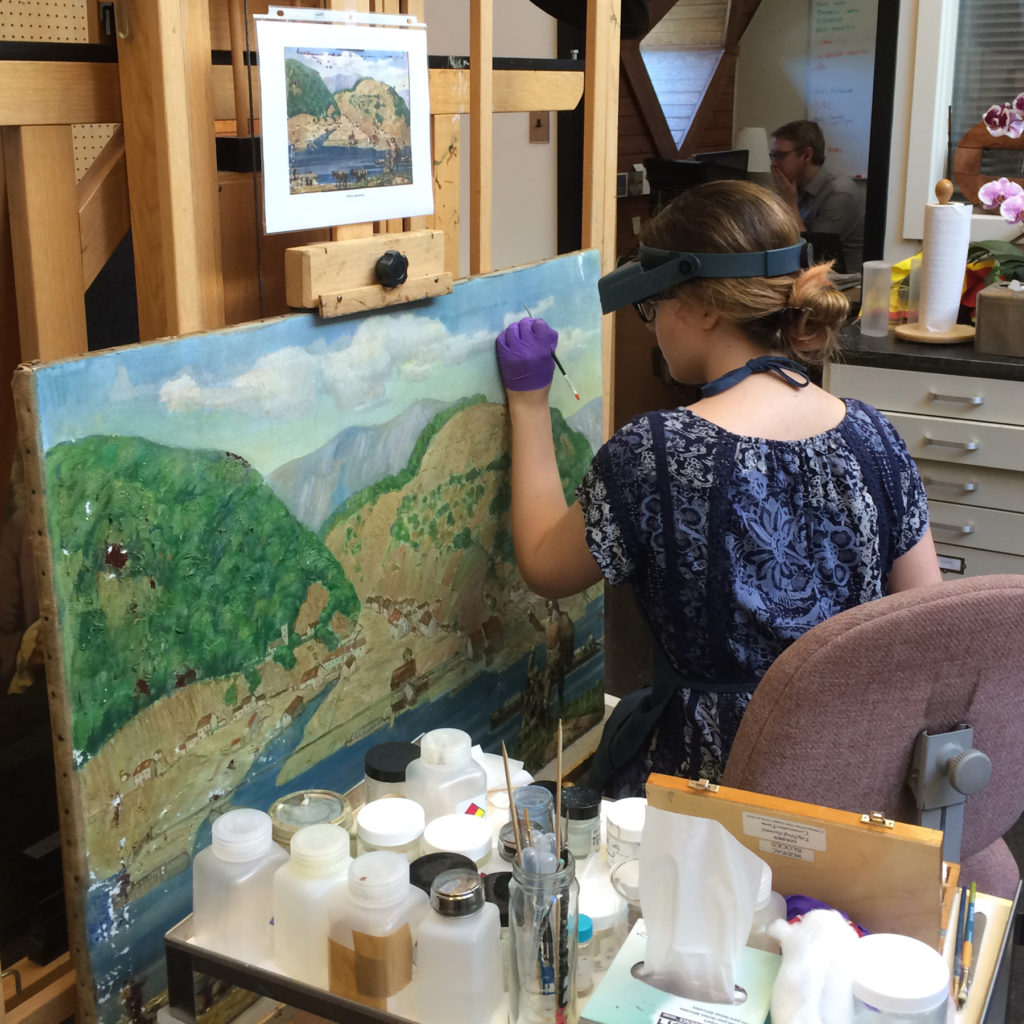
Lead intern, Charlotte Adams Brooks carefully applies paint to areas of loss. All filling and inpainting was done with conservation materials tested for longevity and reversibility, such as Golden poly(vinyl acetate) conservators’ colors or Gamblin aldehyde conservators’ colors, and all compensation will be limited to losses, not covering any of the original paint, as had been permissively done in the previous restoration attempt. Retouched areas can be distinguished from the original paint under ultra-violet light.
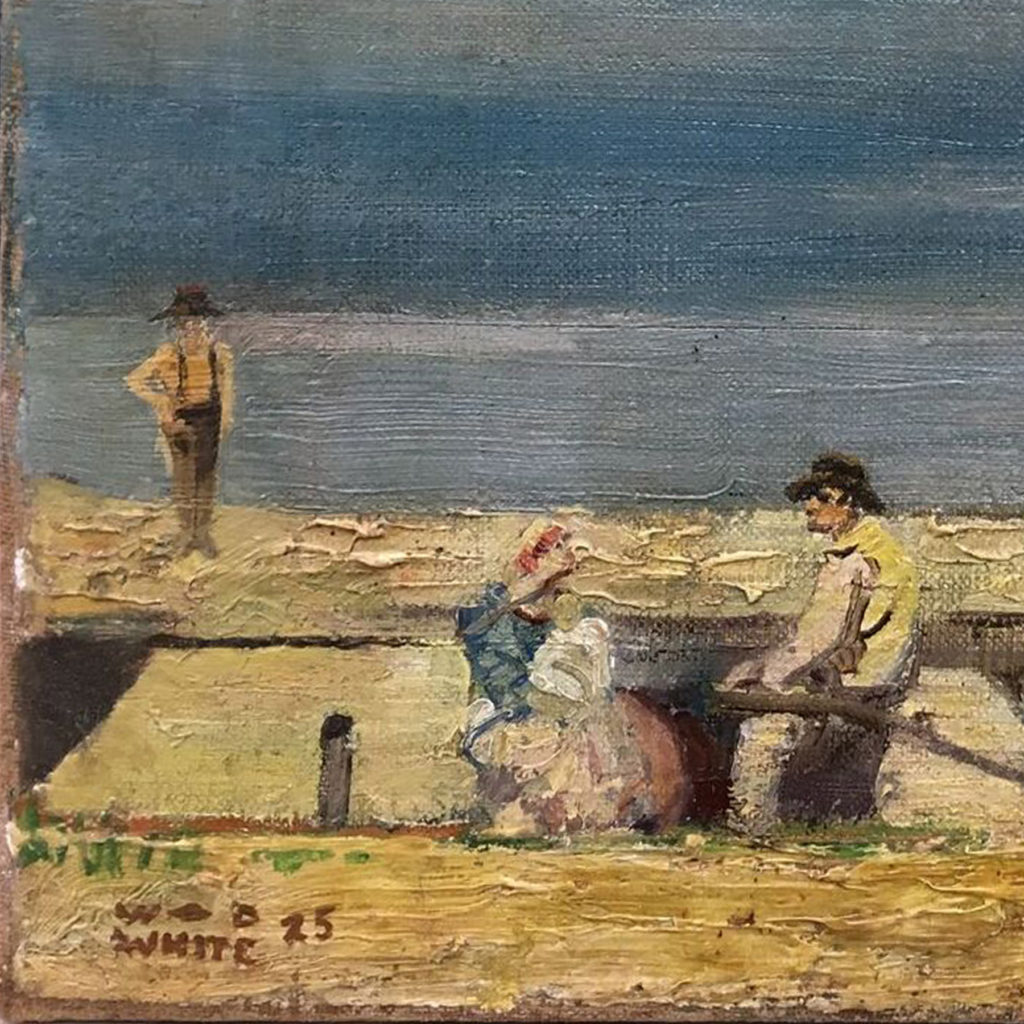
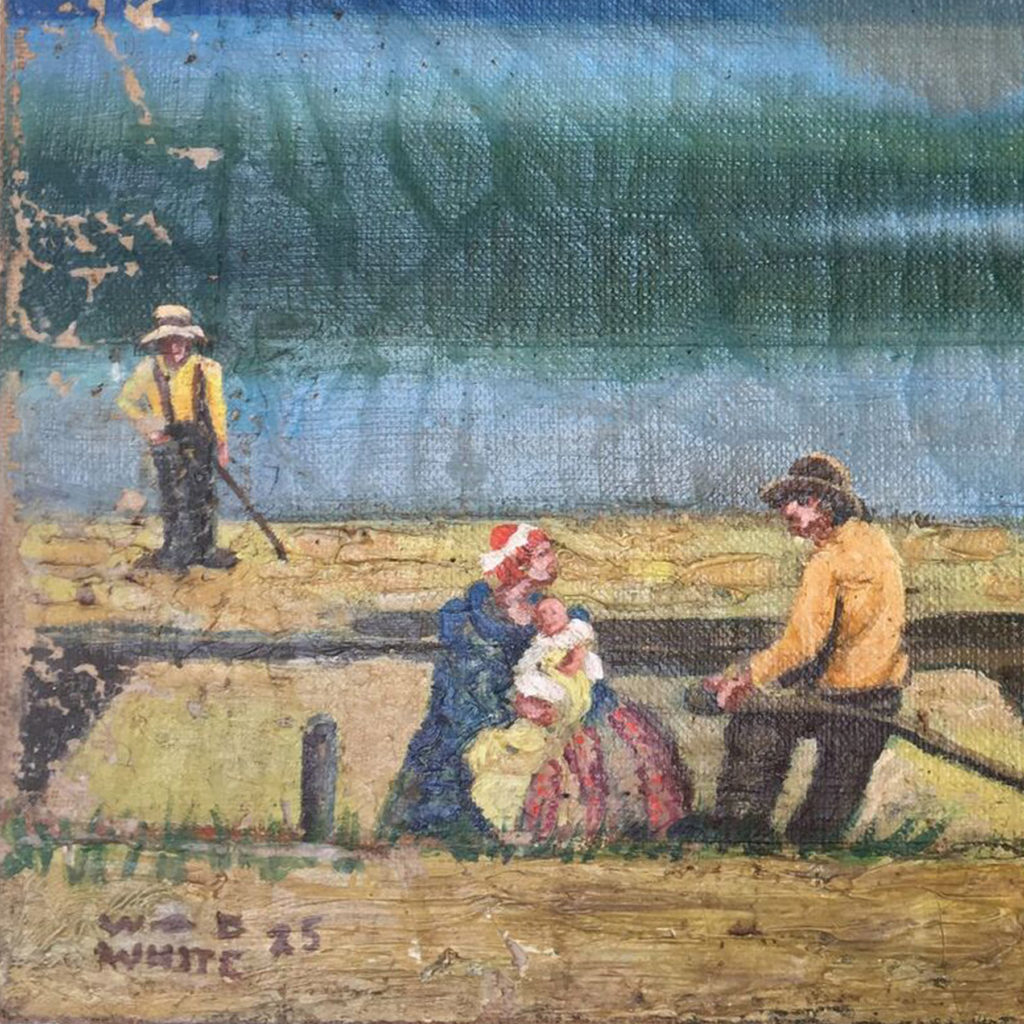
In the detail images of the lower left corner of Old Mauch Chunk, note the differences before (left) and after (right) inpainting. Because of paint loss and extensive overpainting during the early 1990s, Charlotte Adams Brooks referred to the 1925 published illustration to ensure accuracy.
Step 3
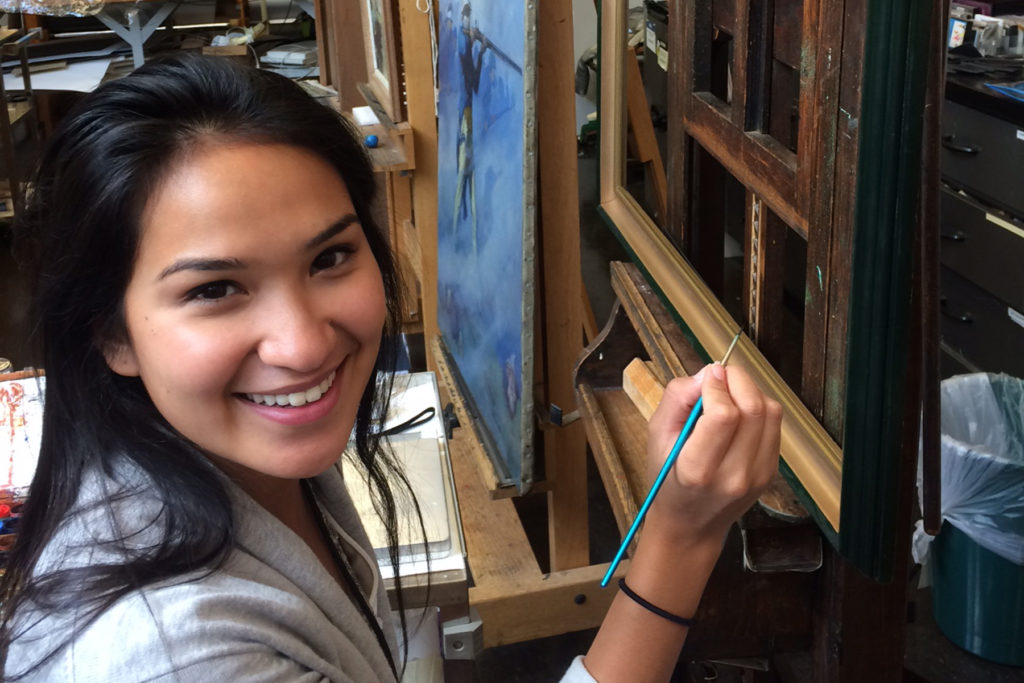
Finally, the frame was treated to remove dark oily stains, especially apparent on the lower left corner. Julianna Ly, a pre-program intern in paintings conservation at the Winterthur/UD Program in Art Conservation, retouches the frame.
